The recording decides how good your vocal can sound. A clean, dry, well-levelled take is easy to mix; a noisy, boomy or clipped one fights you all the way. The good news: you don't need an expensive studio. You need the right setup and a few habits.
What you need
- A microphone. A large-diaphragm condenser is the classic vocal mic, but a good dynamic mic is often better in an untreated room, because it picks up less of the room.
- An audio interface with a decent preamp.
- Closed-back headphones, so the beat doesn't bleed into the mic.
- A pop filter and a sturdy stand.
Step 1: Fix your room (for free)
Most home recordings sound amateur because of the room, not the mic. Hard walls reflect the voice back into the mic and make it sound boxy and hollow.
- Choose the room with the most soft stuff: beds, sofas, carpet, curtains.
- Hang heavy blankets or duvets behind you and around the sides. The mic hears what's behind you most.
- Face into the room, not into a corner or close to a bare wall.
- A walk-in closet full of clothes is often the best-sounding "booth" in a house.
- Turn off fans, fridges and anything that hums.
Step 2: Place the mic
- Distance: 15 to 25 cm from your mouth, with the pop filter in between.
- Height: the mic level with your mouth, or slightly above pointing down a little, which reduces plosives.
- Angle: if S sounds are harsh, angle the mic slightly off-axis.
- Stay consistent: mark your spot on the floor so every take sounds the same.
Step 3: Set your levels
- Record at 24-bit (44.1 or 48 kHz is fine).
- Sing the loudest part of the song and set the gain so peaks land around −10 to −6 dBFS.
- Never let it clip. Clipping in the recording can't be fixed later.
- Don't worry if it looks quiet: you'll bring it up in the mix, and 24-bit has plenty of room.
Step 4: Get better takes
- Warm up for a few minutes and drink water (room temperature).
- A good headphone mix helps you perform: enough of your own voice, a little reverb for comfort, the beat not too loud.
- Record several full takes, then comp the best lines together.
- Record doubles and ad-libs on separate tracks while you're in the zone.
- Keep it dry. Monitor with reverb if you like, but record without it.
Step 5: Clean up before you mix
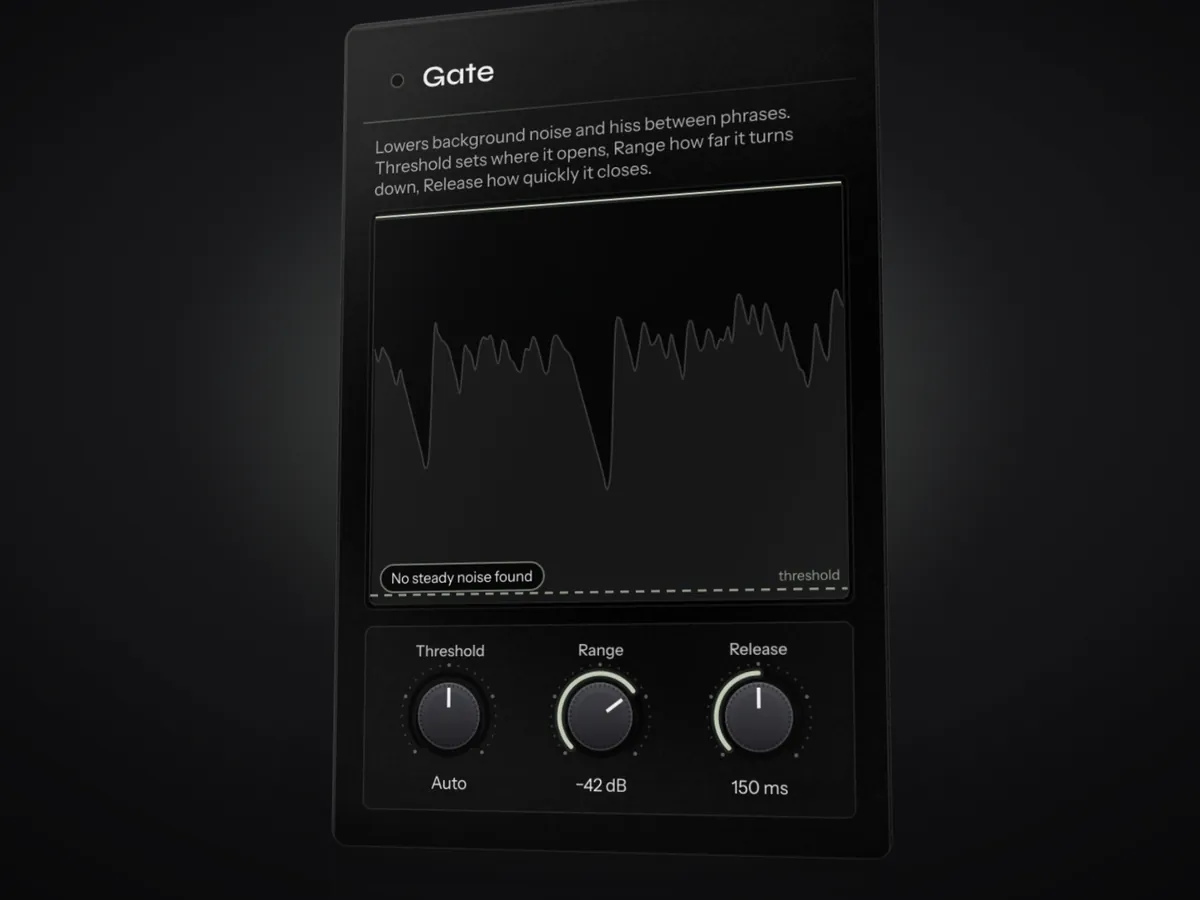
- Remove noise between phrases, or use a gentle gate.
- Lower loud breaths and remove clicks.
- Check the takes are in time, especially doubles.
From recording to mix
Once your takes are clean, the mix is next: our guide on how to mix rap vocals walks through the full chain. If you want a fast starting point, Instinct measures the noise in your recording and sets a gentle gate from it, then builds the rest of the vocal chain for that exact take. Download the free beta.
Common mistakes
- Recording in an empty, hard room. Add soft surfaces behind you.
- Too close or too far. Too close is boomy and pops; too far is roomy.
- Recording too hot. Clipped takes are unusable.
- Reverb printed into the recording. You can't remove it later.
FAQ
What level should I record vocals at?
Record at 24-bit and aim for peaks around −10 to −6 dBFS, with the average much lower. That leaves headroom for loud moments, and 24-bit has plenty of resolution for quiet ones.
How do I treat my room for vocals without spending money?
Record in the room with the most soft furniture, hang heavy blankets or duvets behind and around you, and face the open part of the room. A closet full of clothes can also work very well.
How close should I be to the mic?
Around 15 to 25 cm (a hand's width or a bit more) with a pop filter in between. Closer adds bass and intimacy; further back sounds more open but picks up more room.